こんにちは、YOUTRUSTのやまでぃ(YOUTRUST/Twitter)です。
前回の記事より約4ヶ月振りの登場です。 前回の記事ではたくさんの反響ありがとうございました。まだ未読の方は是非読んでみてください。(スケーラブルなリスティングロジックについてです)
最近のわたくし事ですが
今ONE PIECEの連載が最終章に突入して熱いとの噂をキャッチし、8月に入ってから漫画を最初から全巻読み直しています。 僕のマイサウナである国立温泉 湯楽の里に全巻置いてあり、毎回1000円弱でサウナに水風呂に漫画まで読めて最高です。深夜1時まで営業しており、最近土日の大半はここにいます。(何なら平日も昼間からいるときも?)

今回は何書くの?
Railsのロジックのクラス分けについて書きます。
弊社ではキャリアSNSとHR SaaSの2つのプロダクトを提供しており、共にサーバーサイドはRuby on Railsにて開発・運用しております。
今なお根強い人気のRuby on Railsは、そのお作法に乗る(on Rails)ことにより、特に初期の段階では素晴らしい生産性を生み出してくれるフルスタックWebフレームワークですが、何も考えずにサービスの運用を続けていると段々辛くなってきます。
そう、Fat Model(Controller)問題ですね!
想定外の仕様変更や度重なる機能追加や試行錯誤のためのロジックを、目の前にあるModelやControllerに「後で直す…後で直す…」とつぶやきながら継ぎ足していった結果生まれてしまう、密結合で見通しが悪くテストも書きづらい悲しきスパゲッティコード。
どうしてこうなったのか分からないまま、取り敢えず精神削って頑張って読み込んで変更してみたものの、これで良いのかイマイチ安心できない、本番に反映しても大丈夫なものだろうか?もしバグが起きてしまっていたら?未来の仲間に申し訳ない等と不安で眠れない夜もあったのではないでしょうか。
そんな経験ありませんか?
僕はあります。
そこで、今回の記事ではYOUTRUSTにおけるRailsの使い方<ロジックどこ置く?編>をご紹介します。
もし「そんなことは無い」というスーパーなエンジニアの方でしたら、もうこの記事の続きは読まなくて大丈夫なので、こちらに進んでください。
難しそうなので結論から言って?
YOUTRUSTではロジックを下記のように用途別にクラスを分けています。(2022年9月現在)
- 初期の段階
- Controller or Model
- 最近のYOUTRUST
- 更新系ロジック→Command (
app/commands/) - 参照系ロジック→Query (
app/queries/) - 通知系ロジック→Model (
app/models/notifications/) - ロジックを組み合わせるもの→UseCase (
app/use_cases/)
- 更新系ロジック→Command (
ここですべてを悟ったスーパーなエンジニアの方も続きを読まなくて大丈夫なので、こちらにお進みください。
ふ〜ん、てかそもそもRails on YOUTRUSTの規模ってどれくらいなの?
サービスのリリースは2018年4月20日。運用歴4年と4ヶ月以上になります。
各ディレクトリ内のクラス数(2022年9月現在)は以下の通りです。
- Controllers: 258
- Models: 347
- ちなみにDBテーブル数は168
- Commands: 137
- Queries: 34
- UseCases: 5
※まだControllerやModelがFatになっている箇所があり、完全にCommandやUseCase層に移行しきっている訳ではありません。

本題だよ
YOUTRUSTではロジックを用途別に下記のように分類して、ディレクトリを分けて管理しています(再掲)
- 更新系ロジック→Command (
app/commands/) - 参照系ロジック→Query (
app/queries/) - 通知系ロジック→Model (
app/models/notifications/)- 弊サービスにおいて通知は重大な関心事なので
app/notifications/に移行することを検討していたりします。
- 弊サービスにおいて通知は重大な関心事なので
- ロジックを組み合わせるもの→UseCase (
app/use_cases/)
それぞれの層の依存関係としては下記の通りです。
- Controller→UseCase、Query、Command
- 処理内容の複雑度に応じてUseCaseを作ったり作らなかったり、直接Commandを呼んだりと、少しゆる〜くしています(ガチガチにやりすぎると疲れちゃうからね)
- UseCase→Command、通知Model
- Query→(他の)Query
- Command→なし(末端)
こんなん見せられてもよーわからんってなると思うので、以降は具体的な雰囲気重視のサンプルコードと一緒に各層の詳細をご紹介していきます。
※雰囲気を伝えることが目的なので、定義されていないメソッドが突然現れたりします。ご注意ください。
Controller(/app/controllers/)
HTTPの世界とアプリケーションの世界の境界に立つようなイメージの層です。 ここにはあまりロジックを書かずに、UseCaseやQueryやCommandを呼び出します。
基本的には下記の形になります。
- 更新系アクション:UseCaseを呼び、結果に応じてステータスコードを出し分ける。
- 参照系アクション:Queryを活用してデータをかき集めてviewに渡す。
※ 「基本的には」とある通り、「更新系アクションには必ずUseCaseを用意する!」等の厳密なルールのもと運用はしていないです。極端な話 create! するだけなら、わざわざUseCase等書かずにControllerにそのまま書いちゃって良いと思います。
class FriendRequestsController < Api::ApplicationController
  def index
    @pending_friend_requests = PendingFriendRequestQuery.run(
      current_user: current_user,
      limit: param_limit,
    )
  end

  def show
    @friend_request = FriendRequest.find(params[:id])
  end

  def update
    friend_request = FriendRequest.find(params[:id])

    result = AcceptFriendRequestUseCase.run(
      operation_user: current_user,
      friend_request: friend_request,
    )

    if result.success?
      @friend_request = result.friend_request
    else
      head :bad_request
    end
  end

  private

  def param_limit
    params[:limit].to_i
  end
end
UseCase(/app/use_cases/)
一連の更新系ロジックや通知ロジックなどを組み合わせて呼び出すものです。 UseCase自体にはあまりロジックはかかず、基本的にはCommandや通知Modelを呼び出すことに専念します。 他にはDBトランザクション管理や排他制御の責務も持たせています。
class AcceptFriendRequestUseCase
  attr_reader :operation_user, :friend_request

  def run
    friend_request.with_lock do
      accept_friend_request!
    end

    if success?
      send_notification
    else
      errors.add(:friend_request, :invalid)
    end
  end

  def initialize(operation_user:, friend_request:)
    @operation_user = operation_user
    @friend_request = friend_request
  end

  private

  def accept_friend_request!
    AcceptFriendRequestCommand.run(
      operation_user: operation_user,
      friend_request: friend_request,
    )
  end

  def send_notification
    NotificationJob.perform_later(
      'accept_friend_request',
      friend_request: friend_request,
      operation_user: operation_user,
    )
  end
end
Command(/app/commands/)
更新ロジックの置き場です。
例えばつながり申請関連の更新系処理には「送信時」「承認時」「拒否時」等がありますが、これらにはそれぞれ異なるバリデーションや付随する処理があります。
これらを一つのModel( app/models/friend_request.rb )に全部書いていたらFatになってしまいます。
そこで、それぞれのケースをCommandに切り出すことによって見通しを良くしましょうや、という流れで生まれたのがCommand層です。
class AcceptFriendRequestCommand
  attr_reader :operation_user, :friend_request, :from_user, :to_user

  validate :validate_friend_request
  validate :validate_operation_user

  def run
    return if invalid?

    friend_request.status_accepted!

    become_friends
    delete_friend_candidates
  end

  def initialize(operation_user:, friend_request:)
    @operation_user = operation_user
    @friend_request = friend_request
    @from_user = friend_request.from_user
    @to_user = friend_request.to_user
  end

  private

  def become_friends
    UserFriend.create!(user: from_user, friend_user: to_user)
    UserFriend.create!(user: to_user, friend_user: from_user)
  end

  def delete_friend_candidates
    FriendCandidate.where(user: from_user, candidate_user: to_user).delete_all
    FriendCandidate.where(user: to_user, candidate_user: from_user).delete_all
  end

  def validate_friend_request
    errors.add(:friend_request, :invalid) unless friend_request.status_pending?
  end

  def validate_operation_user
    errors.add(:operation_user, :invalid) unless to_user == operation_user
  end
end
Query(/app/queries/)
参照系のロジックの置き場です。
ここでもしかしたら参照系ロジックって何?と思われるかもしれません。
まさか User.all のためにわざわざQueryなんて作らないよね? User.where(created_at: 10.days.ago).limit(100) はQuery作る?どこからどこまで?という疑問の声が聞こえてきそうですが、正直ここは「複雑だと思ったらQueryに移そう」くらいな感じで運用しています。
別にActiveRecordクラスにちょっとwhereとかlimitが付いたくらいのものは、わざわざQueryを作らずにControllerに直接書いちゃって良いと思います。見通しが悪くないんだったら。
「最近Contorollerがちょっと太ってきたかな?」とか思ってきたら、そのときにQueryなり何かしらの打ち手を検討すれば良いと思います。
class SearchUsersQuery
  attr_reader :current_user, :sort_type, :keyword

  def run
    filter_user_ids(
      sort_user_ids(
        fetch_population_user_ids
      )
    )
  end

  def initialize(current_user:, sort_type:, keyword:)
    @current_user = current_user
    @sort_type = sort_type
    @keyword = keyword
  end

  private

  def fetch_population_user_ids
    current_user.friend_user_ids + current_user.friend_of_friend_user_ids
  end

  def sort_user_ids(user_ids)
    SortUserIdsQuery.run(user_ids: user_ids, sort_type: sort_type)
  end

  def filter_user_ids(user_ids)
    FilterUserIdsQuery.run(user_ids: user_ids, keyword: keyword)
  end
end
Notification(/app/models/notifications/)
通知系ロジックの置き場です。
基本的に通知ロジックは非同期ジョブ(ActiveJob)経由で呼び出すようにしています。 ものによっては通知対象の計算や配信に時間がかかるので、APIレスポンスが遅延しないようにするためです。
通知ロジック内のディレクトリ構成は下記のようになっています。
app/models/notifications/: 直下のクラスがジョブから直接呼ばれる。email_notifications/: 各メール通知の詳細accept_friend_request.rb: つながり申請承認時のメール通知の詳細- ...
push_notifications/: 各Push通知の詳細accept_friend_request.rb: つながり申請承認時のPush通知の詳細- ...
slack_notifications/: 各Slack通知の詳細user_notifications/: 各サービス内通知の詳細accept_friend_request.rb: つながり申請承認に関する通知ロジック- ...
class Notifications::AcceptFriendRequest
  attr_reader :friend_request, :operation_user, :to_user

  def run
    if !to_user.disabled_email_notifications?(:accept_friend_request)
      send_email_notification(to_user)
    end

    if !to_user.disabled_push_notifications?(:accept_friend_request)
      send_push_notification(to_user)
    end
  end

  def initialize(friend_request:, :operation_user:)
    @friend_request = friend_request
    @operation_user = operation_user
    @to_user = friend_request.to_user
  end

  private

  def send_email_notification
    Notifications::EmailNotifications::AcceptFriendRequest.run(
      friend_request: friend_request,
    )
  end

  def send_push_notification
    Notifications::PushNotifications::AcceptFriendRequst.run(
      friend_request: friend_request,
    )
  end
end
終わりだよ
YOUTRUSTでのRailsの使い方<ロジックどこ置く?編>はいかがだったでしょうか? まだまだ会社もプロダクトも試行錯誤の日々で、我々の未完成なRailsのノウハウではありますが、何か皆さんのRailsライフの参考になる所があればうれしいです。
ここまで読んで完全に理解されたエンジニアの方は是非こちらも併せてお読みになってくださいね。
それでは、また次回の記事でお会いいたしましょう!またね!
Special Thanks
最後に2点。
- 先日弊ブログにて発表した通り、株式会社YOUTRUSTは「Kaigi on Rails 2022」の最上位のRubyスポンサーとして協賛させていただきました!
- 前職を含めると約8年もお世話になっている偉大なプロダクトに少しでも貢献できたのかなとうれしい思いです。
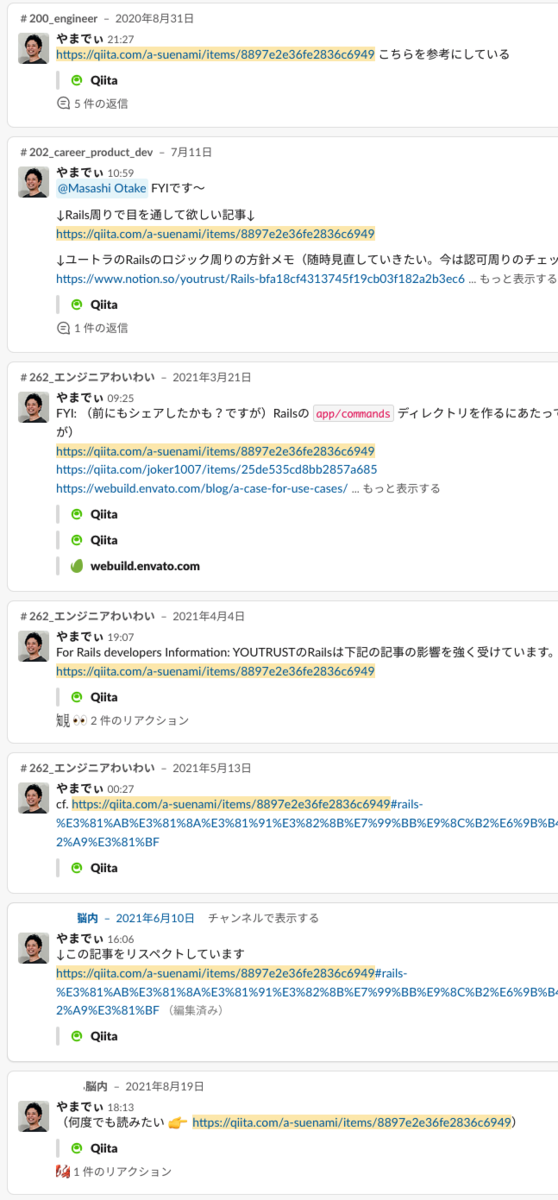
- こちらの記事は僕が社内でマジで15回くらいシェアしているものなので、是非こちらもご覧になってみてください(大事なことは何十回でも発信しないとね)
- サービスクラスについては僕も悪かったと思っているけど、それでもCQSは実現したいんだ - Qiita
- 末並さん、ありがとうございます。(ぼくが内容読み違えていたらすみません)